Blog
There are plenty of gate companies out there — but very few that combine technical expertise, quality workmanship, and genuine customer care.
A turnstile on its own is just a gate that turns. What makes it useful for a business is the system behind it, the part that decides who is allowed through, when, and under what conditions. That connection between the hardware and the rules is what people mean by turnstile integration with access control, and getting it right at the planning stage saves a lot of frustration later. This guide walks through the process in a practical order, from the first decisions to the day the system goes live, so you know what to think about before you speak to an installer.
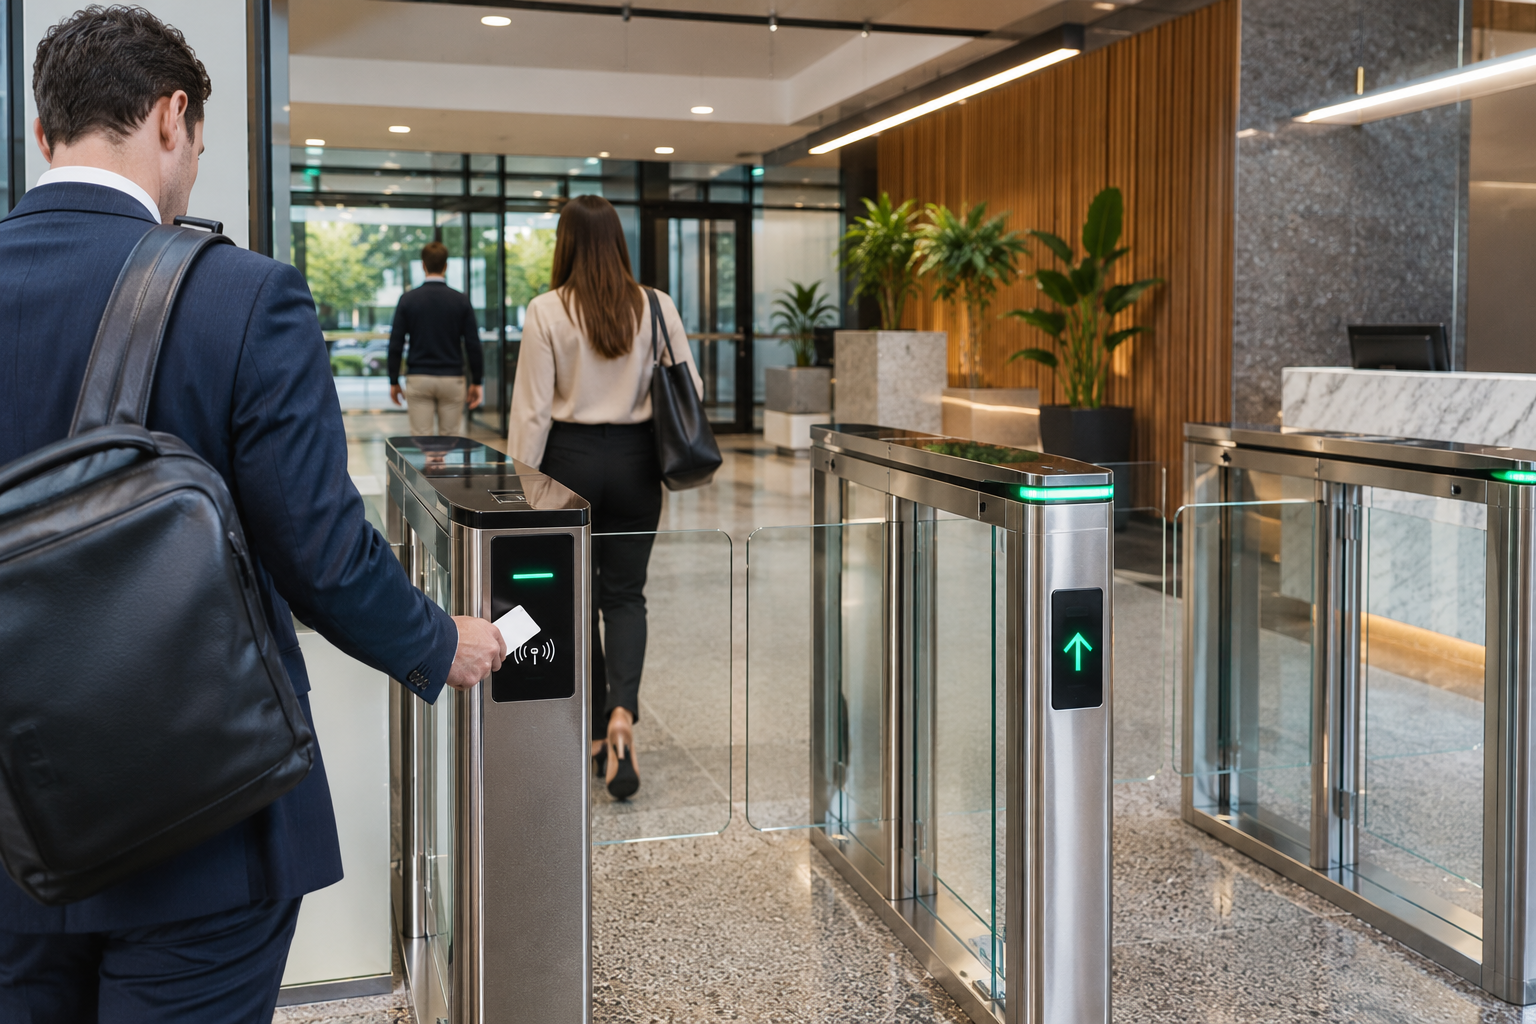
A turnstile does not know who is standing in front of it. It simply waits for a signal that says “let this person through” or “keep it locked”. That signal comes from the access control system, which checks a credential, such as a card, tag, code, or phone, against the rules you have set.
So when we talk about integration, we mean connecting those two parts so they work as one. The turnstile handles the physical side, one person at a time. The access control system handles the decisions. If either part is poorly chosen or badly connected, the entrance either lets in people it should not or blocks people who should be there.
Before choosing any equipment, work out who actually walks through. A small office with twenty staff has very different needs from a shared commercial building with several tenants, or an industrial site with staff, contractors and deliveries.
Write down the groups who need access, such as employees, tenants, contractors and visitors, and roughly how many people are in each. Also note the busiest time of day. This simple list shapes almost every later decision, from how many lanes you need to which credentials make sense.
Credentials are how people prove they are allowed in. EzyGate’s turnstile systems can be integrated with cards, RFID, biometric and mobile entry, and the access control side also covers keypads and video intercoms. Each suits a different situation.
Most sites use more than one. Staff might use cards while visitors are let in by reception. Thinking about this early avoids a setup that works for staff but leaves visitors stranded at the entrance.
Not all turnstiles do the same job, and the right type depends on the setting. EzyGate’s turnstile installation covers a few different styles.
A turnstile in a glass-fronted office lobby has a very different job from one on a yard perimeter. Choosing the type first, then the access method, keeps the system sensible rather than over-engineered.
Once you know who uses the entrance and what type of turnstile suits the setting, plan how many lanes you need and where they go. This is where the busiest time of day matters most. An entrance sized for the average day can queue badly when everyone arrives within the same ten minutes.
Think about the space around the turnstile as well. People need room to approach, pass through, and move away without crowding the lane. Where the turnstile sits in relation to reception, lifts and doors affects how smoothly people flow, so the layout is worth planning on the actual floor plan rather than in theory.
Every entrance needs to work for everyone, including people using wheelchairs or mobility aids, people with prams, and people carrying large items. Standard turnstile lanes are narrow by design, so an accessible lane or gate alongside them is normally part of the plan.
This should be built into the layout from the start rather than added later. It is far easier to include an accessible route in the original design than to retrofit one around equipment that is already installed.
This is the part of integration that makes the system genuinely useful. Rather than everyone having the same access, an access control system lets you set customised permissions and access schedules.
Office staff might have access during business hours, cleaners in the evening, and a contractor for the duration of a job. Tenants in a shared building can be limited to their own areas. These rules are controlled through the system rather than physical keys, so when someone leaves or a contract ends, their access can be switched off without changing any locks.
A well-run access control system also supports visitor management, so temporary visitors can be handled as a defined process instead of an exception.
A common gap in turnstile projects is visitors. Staff are easy to plan for because they have credentials. Visitors arrive unannounced, and a turnstile that only works for staff leaves reception scrambling.
Decide in advance how visitors will get through. They might be checked in at reception and given a temporary credential, or let through using a video intercom after someone on site confirms who they are. Delivery drivers and couriers usually need a different route altogether, so it helps to be clear about where they go and who lets them in.
Any controlled entrance has to allow people to leave safely in an emergency. How this works depends on the building’s design and the requirements that apply to it, so it needs to be planned with the building owner and the relevant building or fire professionals, not decided by the installer alone.
Raise this early in the project. Emergency exit arrangements can affect which equipment is suitable and how the lanes are laid out, so it is much easier to handle at the planning stage than after installation has started.
Once the plan is settled, installation covers more than bolting a turnstile to the floor. EzyGate’s process starts with a site assessment, moves to planning the service around your needs, and then covers installation and servicing, with ongoing support afterwards. Experienced technicians complete the installation.
The most important part of the installation stage is testing the whole system together. That means checking that each credential type works, that permissions and schedules behave as set, that the accessible lane operates correctly, and that the system responds properly when something goes wrong. A turnstile that works perfectly on its own can still fail the user if the connection to the access control system has not been properly tested.
A system is only as good as the people running it. Training is included as part of the access control installation process, and it matters at handover. The people managing the system should know how to add and remove users, change schedules, and deal with lost credentials, without needing to call the installer for every small change.
It also helps to agree who is responsible for the system day to day. Many problems come from unclear ownership, where changes get made informally and rules drift over time.
Turnstiles at a busy entrance are used constantly, so wear builds up faster than people expect. Sensors, moving parts and the connection to the access control system all need regular attention. Annual servicing is generally recommended, with more frequent servicing for high-traffic systems.
A scheduled maintenance and servicing plan catches small faults before they become breakdowns, and emergency repair is available for Auckland sites when something does fail. This matters more with an integrated system than with a standalone one, because a fault at the entrance affects everyone who needs to get in.
A few problems come up again and again on integration projects.
For sites that also have a car park, pedestrian entry is only part of the picture. Many businesses pair turnstiles with a barrier arm at the vehicle entrance so people and vehicles are controlled as part of one setup. Raise this at the start, because planning the whole site together is easier than adding a second system later.
You can get a more accurate quote by gathering a few details first.
Q1. What does it mean to integrate a turnstile with an access control system?
It means connecting the physical turnstile to the system that decides who can enter. The turnstile only releases when the access control system confirms a valid credential, so the two work together as one entrance.
Q2. What credentials can be used with a turnstile?
Turnstiles can be integrated with cards, RFID, biometric and mobile entry, and the access control side also covers keypads and video intercoms. Many sites use a mix, depending on who needs to get through.
Q3. Do I need to decide on the access control system before choosing a turnstile?
It is best to plan them together. The type of turnstile and the credentials you want to use affect each other, so deciding both at the start avoids a mismatch between the hardware and the system running it.
Q4. How do visitors get through an integrated turnstile?
Visitors can be given a temporary credential at reception, or let through after being checked on a video intercom. Visitor management is part of the access control side, so it is worth planning in advance rather than treating visitors as an exception.
Q5. How often does an integrated turnstile need servicing?
Annual servicing is generally recommended, and busier entrances benefit from more frequent servicing. Regular maintenance keeps the sensors, moving parts and system connection reliable.
Q6. What should I prepare before asking for a quote?
Have the number of users, your busiest time of day, the credentials you would like to use, the space available, and any existing equipment ready. It also helps to raise emergency exit and accessibility requirements early.